Extensions
VSCode Extensions
Onivim is capable of loading VSCode extensions, and supports functionality such as:
- Code completion
- Diagnostics
- Go-to definition
- Hover
- Signature Help
- Status bar items
- Source control
- Themes
- Syntax Highlights
The VSCode marketplace is proprietary - so Onivim uses the Open VSX marketplace: an open, vendor-neutral repository of VSCode extensions.
There are more details about the Open VSX project in the Eclipse Open VSX article
Install via the UI

HINT: Use sneak mode to avoid the mouse.
Install via the CLI
Extensions can be installed via the CLI, using the --install-extension argument:
oni2 --install-extension <extension>
where extension is either an extension identifier (ie, redhat.java) or the full path to a vsix file on the local disk.
NOTE: Currently,
oni2is only added to the user'sPATHon Windows. Find instructions on adding it to yourPATHon macOS and Linux over here.
Publishing an Extension
Open VSX is still new - so there are many extensions that aren't hosted there, yet.
If your favorite extension is missing - you can help us out by publishing it to Open VSX:
- Register for an account using the Open VSX GitHub OAuth provider
- Create a personal access token
- Install the
ovsxtool -npm install -g ovsx - Create a namespace corresponding to your extension:
ovsx create-namespace <publisher> --pat <token> - Run
ovsx publish --pat <token>in the directory of the extension you want to publish.
Vim Extensions
WIP
Listing Extensions via the UI
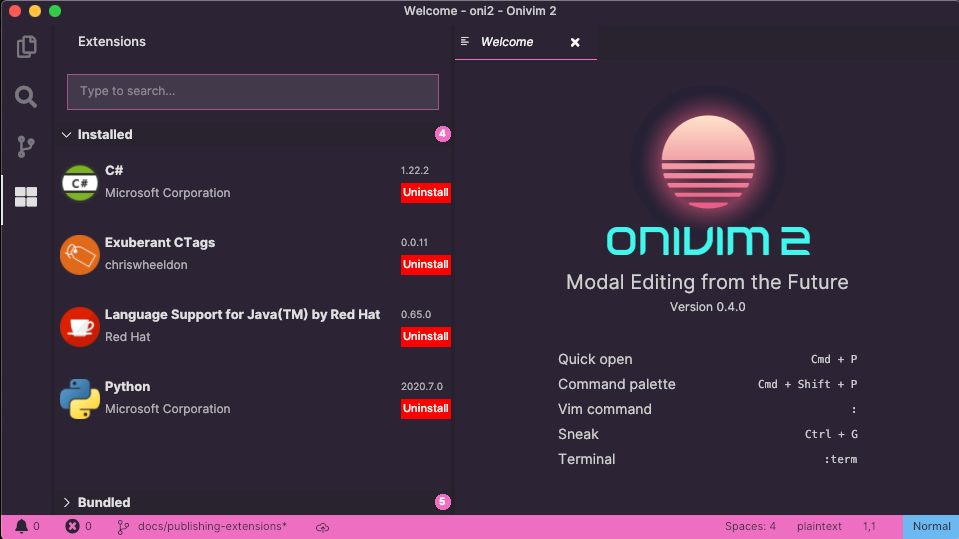
Installed extensions can be viewed in the extensions pane:
or, via the CLI: oni2 --list-extensions command.